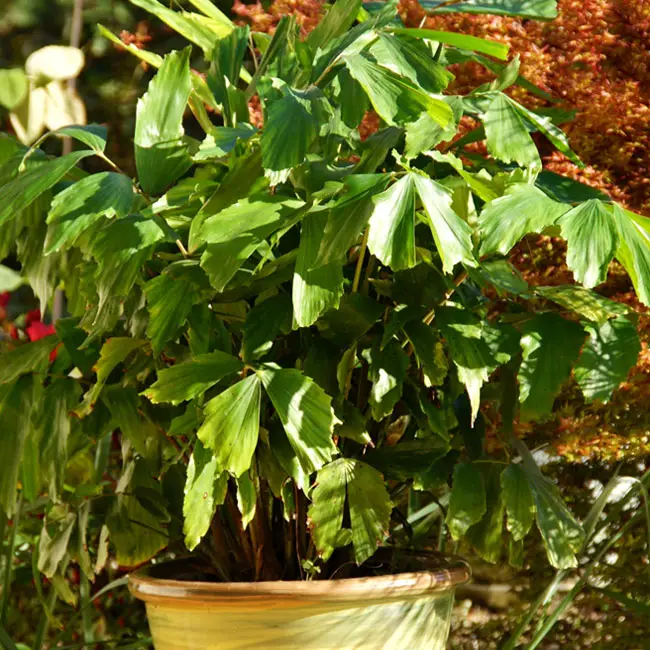
This is probably the easiest transplanting project among all because you don’t need to dig out the palm or transport it elsewhere. Additionally, if you are moving a palm from one container to another, it typically means your palm is still small.
It’s important to remember that palm trees can’t thrive in containers indefinitely. Eventually, they need to be transplanted into the ground; otherwise, they may not survive.
1. Select a Larger Container
Begin by acquiring a larger container with proper drainage holes at the bottom to ensure adequate water drainage.
2. Remove the Palm
Lay the palm on its side and gently slide it out of the current container. In some cases, you may need to tap the sides to loosen it.
Palms grown in containers often have roots that wrap around the inside, and these roots should not be trimmed like those of broadleaf trees. Try to preserve the existing soil around the root ball to minimize transplant shock, taking care not to damage the roots during the process.
3. Prepare the Soil Mix
I recommend obtaining organic soil and mixing it with sand to promote proper drainage. Be cautious of soil mixes with added fertilizer, as these can potentially harm the palm’s roots. Stick to a basic organic soil mix, combining three parts soil with one part sand.
4. Plant the Palm
Position the palm at the same level it was previously planted, unless it was initially set too high. Planting too deep can lead to nutrient deficiencies.
Begin by adding some soil to the bottom of the larger pot and moisten it thoroughly. Then, place the palm into the new container and fill the remaining space with the prepared soil mix.
5. Watering
Water your palm thoroughly, ensuring that the soil around the root ball is moist. During the first two weeks after transplanting, water your palm every two days. Afterward, you can revert to your regular watering schedule.
6. Fertilizing
Avoid fertilizing the palm for the first two months or until you observe new growth. Transplant shock can stress the palm, and it’s best not to add further stress during this period.
7. Maintain the Location
Keep your palm in the same location where it was originally growing. You can consider moving it once you notice that it is thriving in its new container.
Related Articles
- Top 10 Transplanting Palm Tree Mistakes
- Transplanting Palm Tree from One Location to Another
- Transplanting Palm Tree from a Container into the Ground
- Palm Tree Planting Step-By-Step

I have had a pony tail palm for many years. ‘Have kept it in a decorative container in the loft of my house where it gets adequate sun and natural light. The base finally out-grew the container and became root bound. Today I transplanted it in to a much larger container and replaced the soil with “organic” material containing NO added fertilizers.
Your directions for doing this were most helpful. Thank you.
I bought three Queen Palms. I replanted them in wine barrels. I have had them for two weeks now. I am wondering if I did not plant them deep enough because I can see the little roots on top. Is this bad? Should I replant them…maybe plant them deeper? Thank you for your time, Stephanie
I have three sabal palmettos (cabbage palmettos) in a gray plastic container that have been growing together. They’re young, so they’re trunkless, and I have been raising them for over a year in my hometown of Greenville, South Carolina. I want to separate them and place each palmetto into a bigger container of their own. However, I don’t know if I should do this process during the Winter season and I don’t want to hurt any of them. Should I wait until Spring to separate and transplant them? How do I separate each one properly without harming them?